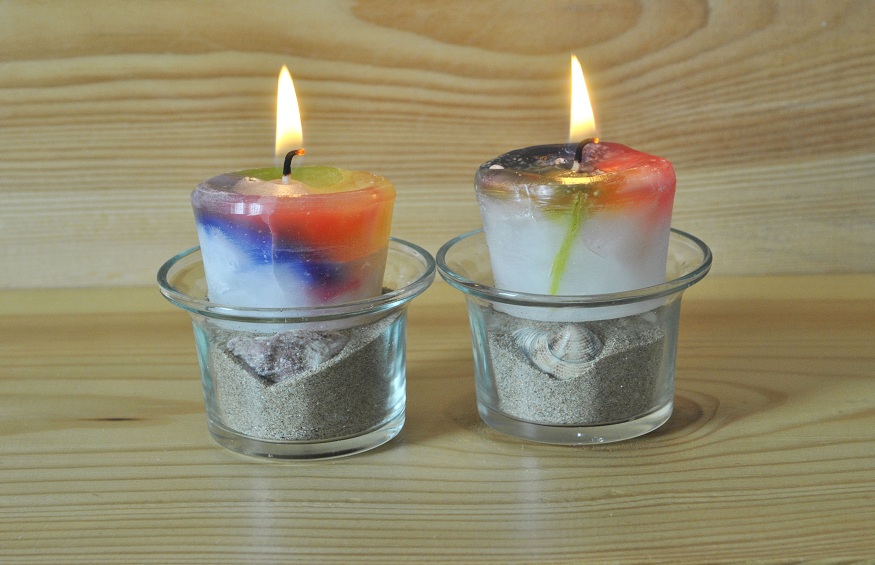
A simple container is quite known for its many uses than what we normally give credit to it. You can use varieties in the world of wax colours and textures in candles. You can either go with the idea of the containers with multiple colours or just plain containers as per your requirement. However, make sure that the container that you choose is fireproof.
Do you wish to know more about candle making? If yes, then feel free to visit Aussies Candle Supplies. They are not only known for making beautiful candles of different sizes but are also famous for their pocket-friendly products. You can visit their webpage to learn more about their products.
Making Container Candles
Here are some steps to help you make swirling container candles at home.
Materials
- Candle wax
- Candlewick
- Candle dyes of concentrated liquids
- Fragrance
- Containers that are made with fireproof glasses
Required Tools and Equipment
- Plastic straw or wick bar
- Oven mitt
- Hot glue or glue gun
- Heat gun
- Kitchen scale for measuring the quantity of wax
- Toothpicks
- Pots for melting the wax
- Wick pin or thin wire
- Thermometer
Instructions to Follow
- A Basic Candle Making
- Wick Setting
With the help of a straw or a wick bar, balance the wick at the exact centre of the candle. You can add a dab of hot glue to make the wick tab stay at the centre region of the candle circumference.
Melt and Pour the Wax
Heat the wax to melt it completely. Now with the help of a weighing scale, you can start pouring the required quantity of wax into the container where you have already placed the wicks. Do not fill the containers with wax till the neck.
Fragrance is an Optional Addition
If you wish to have an aromatic candle at your home, then you can add the fragrance into the container before you pour the melted wax into it.
Poke a Hole and Cool the Candle
Let the containers cool and the wax set. Make sure that the wick is now completely invisible when viewed from any angle from the glass. Now start poking holes at the edge of the candle circumference in such a way that the wires will go all the way to the bottom of the container.
Start Adding the Colour
When you are done with poking holes at the edges of the candle ends, it is time to add colour to those holes. You can dab a toothpick inside the colour and let the colour drop inside the hole. Use different toothpicks for different colours.
Let the colours go all the way towards the end of the glass containers. You can add as many colours of your choice into every hole. Remember to not overdo it.
Start Swirling
With the help of the heat gun, start melting the top layer of the candle so that the colours start mixing with the candle. You can see that the colours are getting mixed with the candle and are moving down the hole.
Repeat heating and swirling till you see that the colours are completely in sync with the candle. Let it cool and you have the colourful swirling candle to light. Cut the length of the wick once you are done swirling.


